Mastering the Art of Drywall Installation: A Step-by-Step Guide
Are you ready to elevate your DIY skills and tackle the art of drywall installation like a pro? In this comprehensive step-by-step guide, we will take you through the essential stages of achieving a flawless drywall finish in your home. From selecting the right materials for your project to mastering intricate techniques, we've got you covered every step of the way. Whether you're a seasoned DIY enthusiast looking to refine your skills or a beginner eager to learn the ropes of drywall installation, this article will provide you with valuable insights and practical tips to help you achieve professional results. Get ready to transform your space with seamless drywall installation as we delve into the intricacies of planning, executing, and perfecting your next home improvement project
Choosing the Right Drywall Materials for Your Project
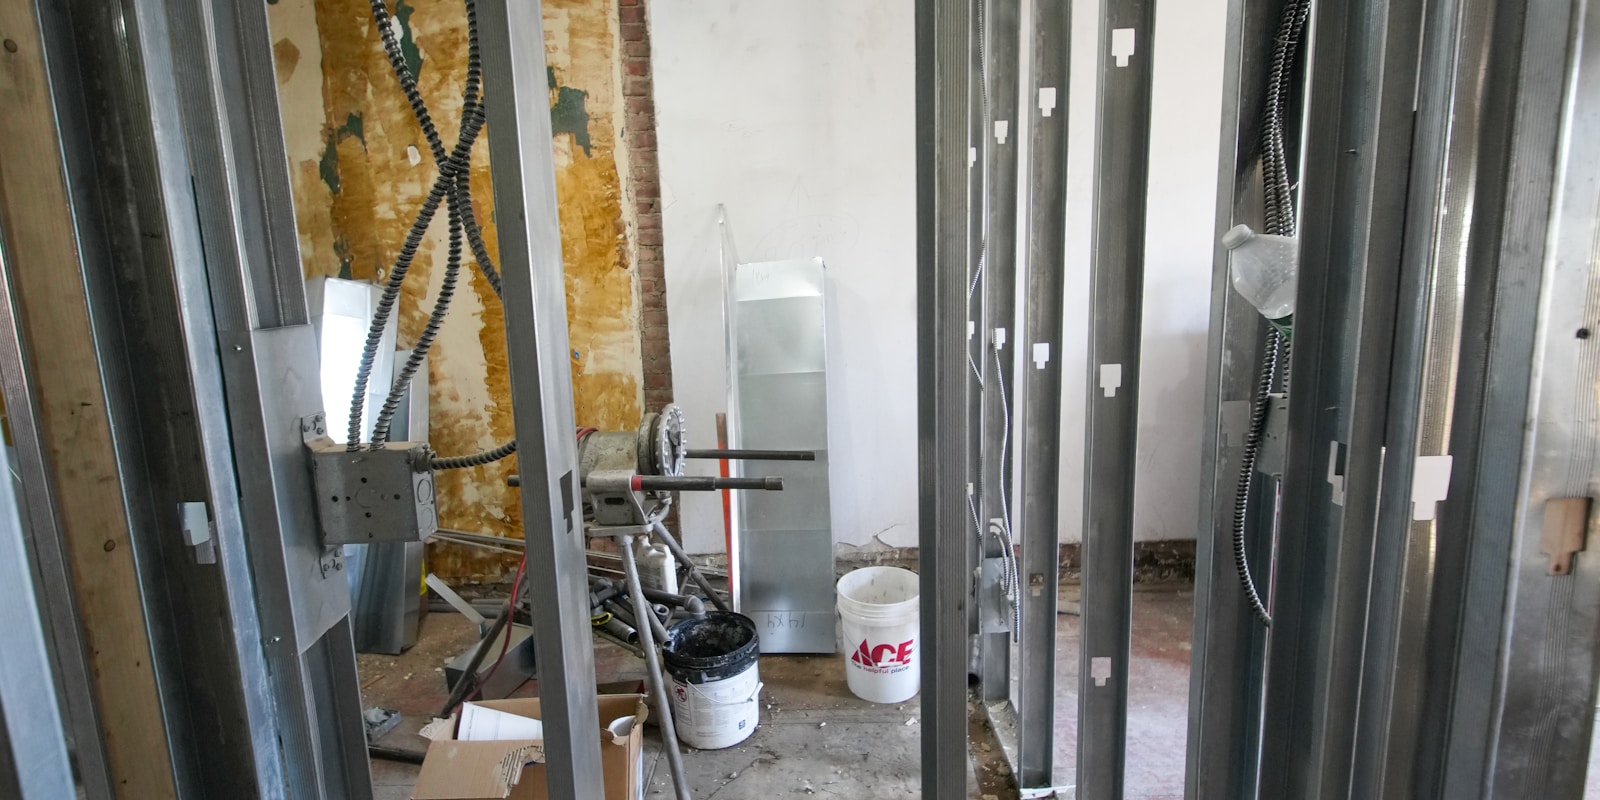
When embarking on a drywall installation project, selecting the appropriate materials is crucial to ensure a successful outcome. The first decision to make is choosing the right type of drywall for your specific needs. Standard drywall, also known as white board, is suitable for most interior walls and ceilings. It is versatile and cost-effective, making it a popular choice for many projects. For areas prone to moisture such as bathrooms or kitchens, green board or moisture-resistant drywall is recommended. This type of drywall contains additives that make it more resistant to mold and mildew, providing added durability in humid environments. On the other hand, if fire resistance is a priority, fire-rated drywall is designed to slow down the spread of flames, giving occupants more time to evacuate in case of a fire. Additionally, there are specialized drywall types such as soundproof drywall for reducing noise transmission between rooms and impact-resistant drywall for areas prone to dings and dents. Understanding the unique characteristics of each type of drywall will help you make an informed decision based on the specific requirements of your project. Besides selecting the right type of drywall, you'll also need to consider the thickness of the sheets. Thicker drywall sheets are more rigid and provide better sound insulation, while thinner sheets are lighter and easier to work with for ceiling installations. Make sure to assess the weight-bearing capacity of your walls and ceilings to determine the appropriate thickness of drywall that can be safely installed. In conclusion, choosing the right drywall materials for your project is a critical step in mastering the art of drywall installation. By understanding the characteristics of different types of drywall and matching them to your project requirements, you can ensure a professional finish that meets both aesthetic and functional needs
Preparing Your Space for Seamless Drywall Installation
When it comes to achieving flawless drywall installation, proper preparation of your space is essential. Before you even pick up a hammer or measure a piece of drywall, taking the time to prepare your workspace can greatly impact the final outcome of your project. Here are some crucial steps to follow for seamless drywall installation: 1. Clear the Area: Begin by clearing the room of any furniture, decorations, or other items that may obstruct your work. A clutter-free environment not only makes it easier to maneuver large sheets of drywall but also helps prevent any accidental damage to your belongings. 2. Protect Floors and Surfaces: Cover floors with heavy-duty drop cloths or plastic sheeting to shield them from dust, mud, and potential scratches during the installation process. Additionally, consider covering countertops, cabinets, and any other surfaces that could be exposed to damage. 3. Check for Electrical and Plumbing: Before installing drywall, ensure that all electrical and plumbing systems are in good working order and are up to code. Consider hiring a professional to inspect these systems to avoid any future issues that may require tearing down newly installed drywall. 4. Repair Walls: Inspect the walls for any existing damage, such as holes, cracks, or uneven surfaces. Properly repair and patch these imperfections before installing drywall to ensure a smooth and seamless finish. 5. Measure and Plan: Accurate measurements are key to a successful drywall installation. Take precise measurements of the walls and ceiling, accounting for any openings like windows and doors. Plan the layout of your drywall sheets to minimize cutting and waste. 6. Gather Necessary Tools and Materials: Make sure you have all the tools and materials required for the installation, including drywall sheets, joint compound, screws, tape measure, utility knife, drywall saw, and a drill. Having everything on hand will streamline the process and prevent unnecessary delays. By thoroughly preparing your space before diving into the drywall installation process, you can set yourself up for success and achieve a professional-looking result. Remember, attention to detail during the preparation phase can make all the difference in the final outcome of your project
Mastering the Techniques of Cutting and Fitting Drywall Panels
When it comes to drywall installation, mastering the techniques of cutting and fitting drywall panels is crucial for achieving a professional-looking finish. Properly cut and fitted drywall panels are the foundation of a successful installation project, ensuring that seams are seamless, corners are crisp, and the overall appearance is polished. To begin mastering these techniques, it is essential to have the right tools on hand. A reliable utility knife, T-square, measuring tape, and drywall saw are essential for accurate cuts and precise fitting. Before cutting any drywall panels, make sure to measure the dimensions carefully and mark the cutting lines clearly. When cutting drywall panels, scoring the front paper layer with a utility knife and then snapping the panel along the score line is a common technique. For more intricate cuts, using a drywall saw to carefully cut through the gypsum core can provide more precise results. Remember to always wear safety goggles and a dust mask when cutting drywall to protect yourself from debris. Fitting drywall panels involves carefully aligning and securing them in place on the wall or ceiling. Start by positioning the panel against the framing, making sure it fits snugly without any gaps. Use drywall screws to secure the panels to the studs, placing them every 12 inches along the edges and every 16 inches in the center of the panel. To achieve a seamless finish, be sure to properly tape and mud the joints between the drywall panels. Applying drywall tape over the joints and covering it with joint compound, feathering the edges to blend with the surrounding surface, will help create a smooth, uniform appearance. Sanding the dried compound between coats will result in a flawless finish ready for priming and painting. Mastering the techniques of cutting and fitting drywall panels is a fundamental skill for any DIY enthusiast or professional contractor looking to achieve high-quality results in their drywall installations. With practice and attention to detail, you can become proficient in these techniques and elevate the appearance of any space with expertly installed drywall
Navigating the Ins and Outs of Taping and Mudding
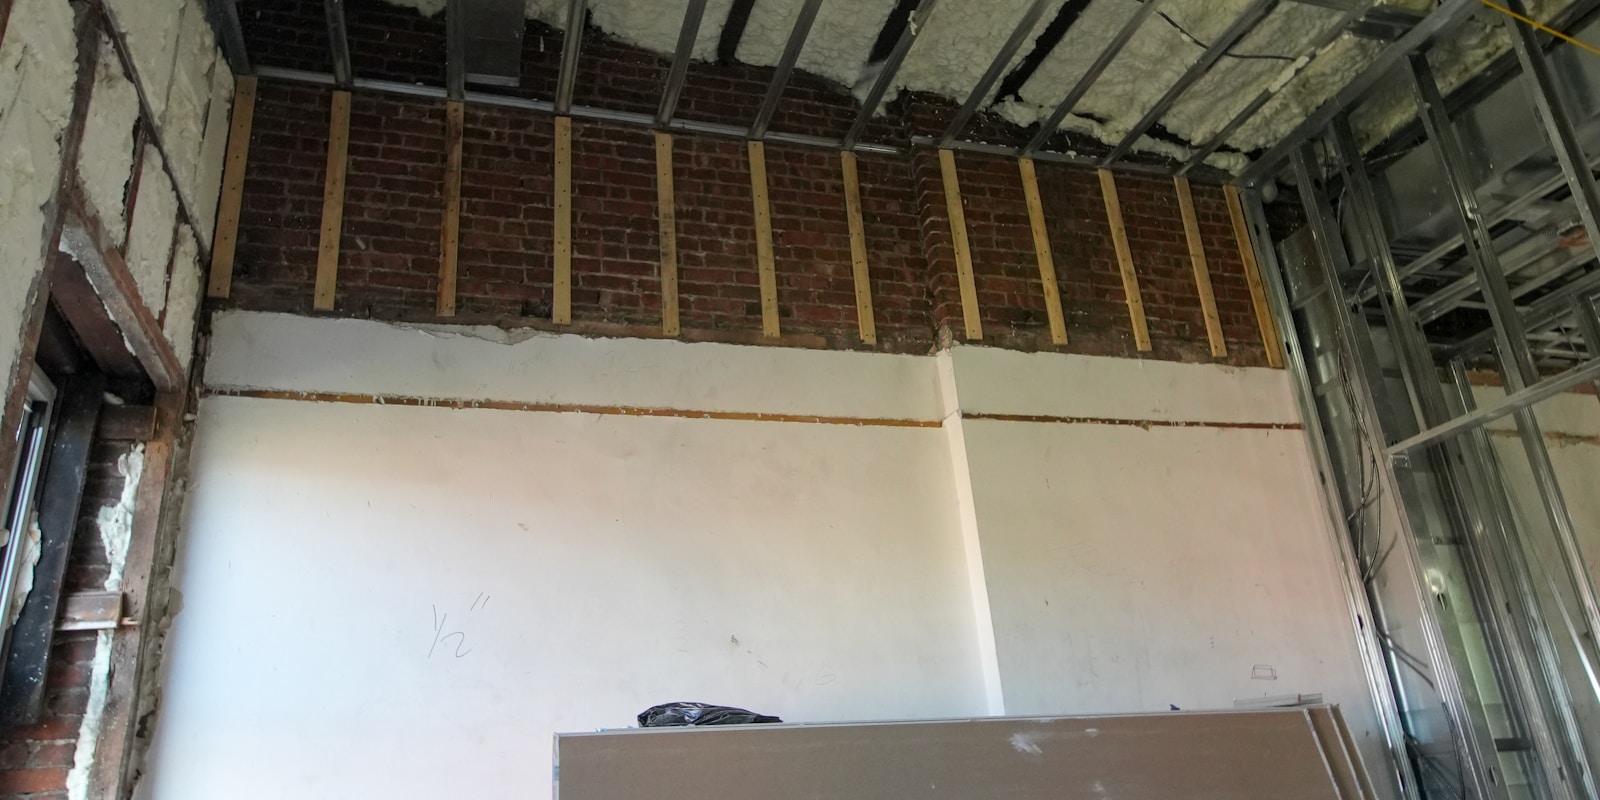
Taping and mudding are crucial steps in achieving a flawless finish in drywall installation. Taping involves applying paper or fiberglass mesh tape over the joints between drywall sheets to reinforce and prevent cracks. It creates a seamless surface for mudding. Mudding, on the other hand, refers to applying joint compound (or mud) over the taped seams and screw indentations to conceal them and create a smooth surface. To start the taping process, evenly apply a thin layer of joint compound over the joints using a taping knife. Press the tape into the compound and smooth out any wrinkles or bubbles. Allow it to dry completely before applying additional coats. For mudding, begin by applying a generous amount of joint compound over the taped seams with a wider drywall knife. Feather the edges to blend the compound seamlessly with the surrounding drywall. Repeat this process with multiple layers, sanding in between each coat for a smooth finish. Proper technique is essential when taping and mudding to avoid visible seams or uneven surfaces. Take your time to ensure each layer is applied smoothly and allowed to dry thoroughly. Sand the final layer lightly to achieve a seamless finish ready for priming and painting. By mastering the art of taping and mudding, you can elevate the quality of your drywall installation and achieve professional-looking results that will stand the test of time
Perfecting the Finish: Sanding and Painting Your Drywall Installation
Once you've completed the installation of your drywall, the next crucial step is perfecting the finish through sanding and painting. This stage is where the true transformation happens, turning a rough surface into a seamless and polished wall ready for any interior design. Here’s a detailed guide on how to achieve a flawless finish for your drywall installation: 1. **Sanding:** Sand down any imperfections on the drywall surface using fine-grit sandpaper. Start with a coarser grit to smooth out any bumps or uneven areas, then switch to a finer grit for a polished finish. Be sure to wear a mask to avoid inhaling dust particles and use a sanding block or sanding pole for larger areas to ensure a uniform surface. 2. **Cleaning:** After sanding, thoroughly clean the surface to remove any dust and debris. Use a damp cloth or vacuum with a brush attachment to ensure a clean surface for painting. Proper cleaning is essential to achieve a smooth and professional paint finish. 3. **Priming:** Before painting, apply a coat of primer to the sanded surface. Primer helps the paint adhere better to the drywall and ensures a consistent finish. Choose a primer that is suitable for drywall surfaces and allow it to dry completely before proceeding to paint. 4. **Painting:** Select a high-quality paint that suits your desired finish and interior style. Use a paint roller for larger areas and a paintbrush for edges and corners. Apply paint in thin, even coats, allowing sufficient drying time between each coat. Multiple coats may be necessary for full coverage and an even finish. 5. **Finishing Touches:** Once the paint has dried completely, inspect the surface for any touch-ups or imperfections. Sand and repaint as needed until you achieve the desired finish. Pay attention to details such as corners, edges, and transitions between walls for a seamless look. By following these steps and paying attention to detail, you can achieve a professional-quality finish for your drywall installation. Remember, the key to a flawless result is patience, proper technique, and quality materials. A well-executed sanding and painting process will elevate the overall look of your space and ensure a durable and beautiful finish that will stand the test of time
Conclusion
In conclusion, mastering the art of drywall installation is a rewarding skill that can elevate your DIY game and transform your living space. From selecting the right materials and tools to mastering techniques such as taping, mudding, and sanding, this step-by-step guide has equipped you with the knowledge needed to achieve a flawless finish in your home. Remember, meticulous planning, precise execution, and attention to detail are key to successful drywall installation. Whether you're a seasoned DIYer or a beginner looking to hone your skills, following these steps will help you achieve professional results and create a polished look in your space. So, roll up your sleeves, gather your supplies, and start your next home improvement project with confidence knowing you have the tools to tackle drywall installation like a pro!